
3D Print Timelapse Generator
Preview an STL, GLB, or G-code layer by layer, place it in your own photo or fixed-camera scene, and save a composed PNG.
The public preview and PNG saving are free. Accounts, automatic slicing, payments, and MP4 export are not open yet.
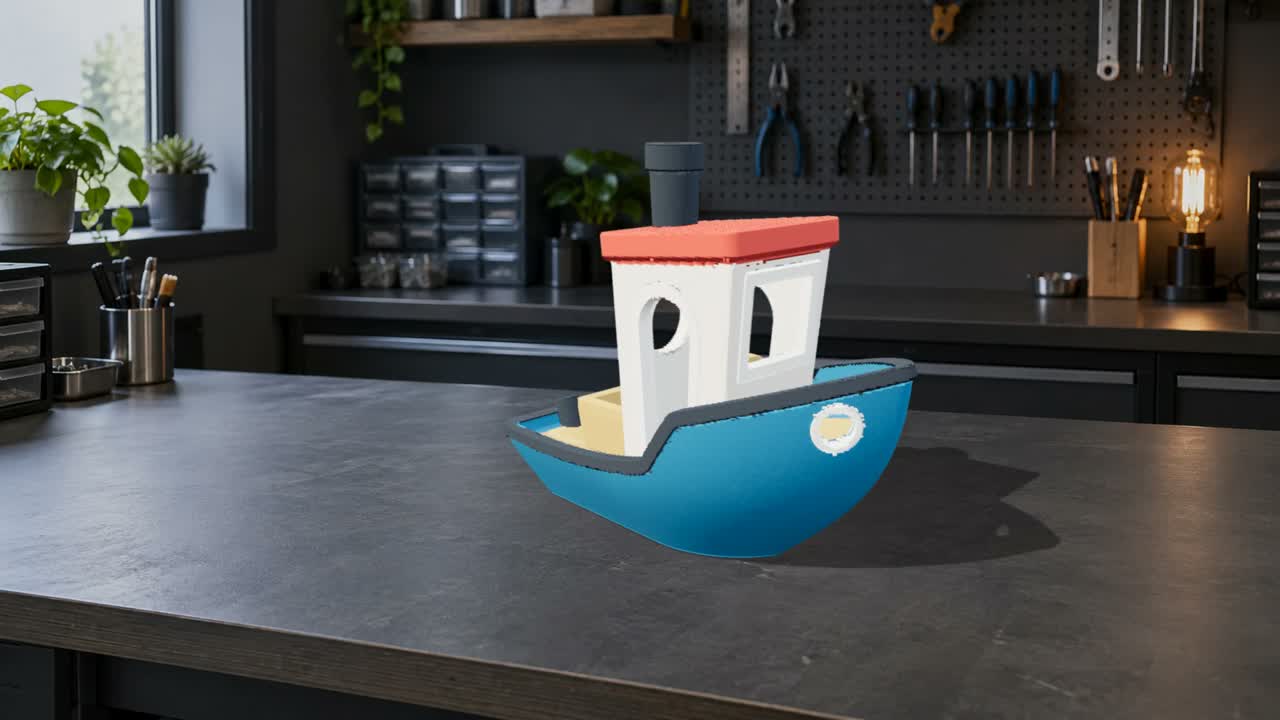
See an actual export
How to make a 3D print timelapse from a file
Upload, set up your scene, choose the effect, and save a PNG preview.
Start with STL, GLB, or G-code
Preview a model with the visual layer effect, or upload text G-code to inspect its extrusion paths.
- STL
Preview the model shape
Choose one color for an STL and preview its layered visual appearance. Automatic slicing is planned for a later launch.
- GLB
A model with color and materials
Use a GLB with embedded resources to retain its colors and materials in the visual preview.
- G-code
Your existing extrusion paths
Upload text G-code to animate its extrusion moves on its own. Use tool or filament colors, or choose one color. Pairing it with a separate model is not supported.
STL color is not imported. 3MF and binary G-code are not supported in the public preview. Automatic slicing is also unavailable.
Real G-code paths or a smooth layer reveal?
Printing paths and surface appearance serve different shots.
Color mapping changes the preview appearance, not the printer's material instructions.
Match the print to your photo's perspective
Adjust the camera angle and field of view, then move, rotate, and scale the model onto the photographed surface. Match the light and contact shadow by eye.
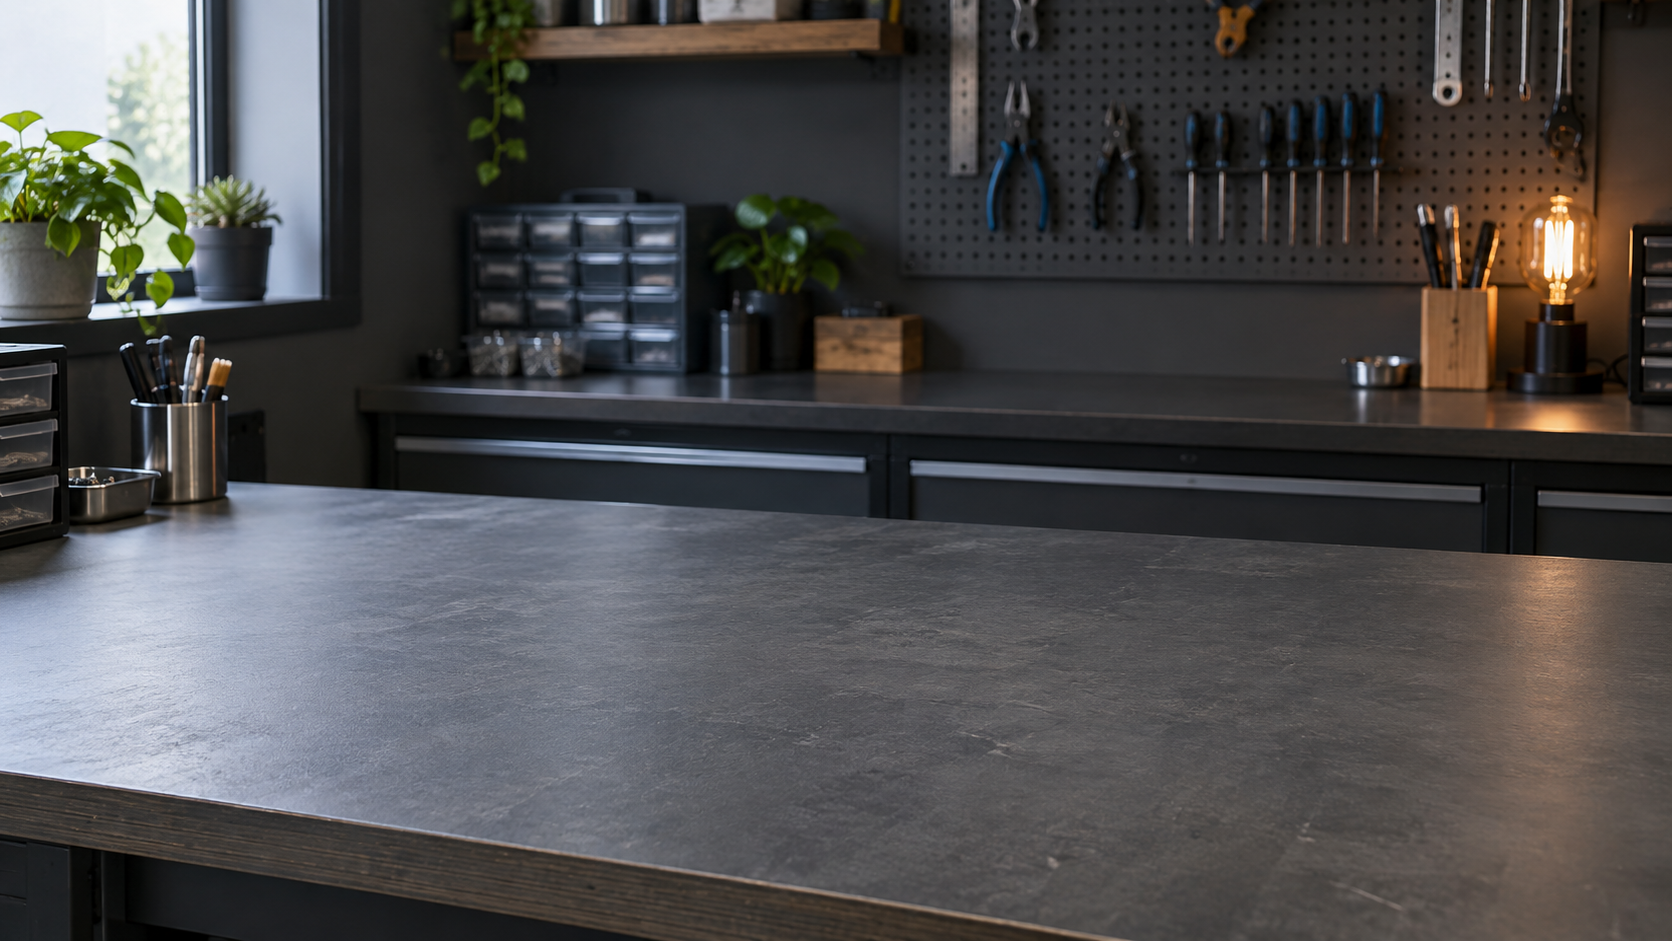
Camera perspective
Adjust the viewing angle, field of view, and tilt for a low shot, a desktop view, or an overhead shot.
Position and scale
Move, rotate, and resize the model to place it on the photographed surface.
Background and light
Use a photo or fixed-camera video, then adjust brightness and choose a lighting preset.
Base and shadow
Place the model directly in the scene or on a print bed, and adjust the shadow strength.
MP4 export is planned
The planned export supports landscape, portrait, and square MP4 output. It is not enabled in the public preview.
Landscape
Portrait
Square
- Resolution
- 720p / 1080p
- Duration
- 8 / 12 / 15 seconds
- Video file
- MP4 · H.264
- Frame rate
- 30 FPS
For now, use the editor to preview the scene and save a PNG frame. Account history and MP4 encoding will open later.
The public preview is free
Preview scenes and save PNG frames for free. MP4 export, accounts, and payments are not open yet.
Free preview
Free
Load a model, set up your shot, and save a PNG frame.
Automatic slicing and MP4 export are not enabled yet.
Planned MP4 export
1 not available yet
The public preview does not use credits. Preview the scene and save a PNG for free; accounts, payments, and MP4 export will open later.
Payments are not open yet. These are planned pack sizes; prices have not been set.
Before you start
Make a timelapse with your own model
Start with the example, then add your model and background. Preview the layers and save a composed PNG.